Assignment vs. editing
At this point, we would like to draw your attention to a fundamental principle when working with Melodyne: Whether you are working on the notes or the tempo, Melodyne always offers two distinct modes: an assign mode and an edit mode. In assign mode, you are optimizing Melodyne’s analysis of your music. In edit mode, you are altering the music itself.
Here, we will explain when and why you should use each mode, and how to obtain from them a clearer overview and better sound quality as you work with Melodyne.
A note on the editions: Melodyne assistant and essential have neither edit nor assign modes for tempo. As you cannot edit polyphonic material either with these two editions, their range of functions in Note Assignment Mode is also more limited.
Why two modes?
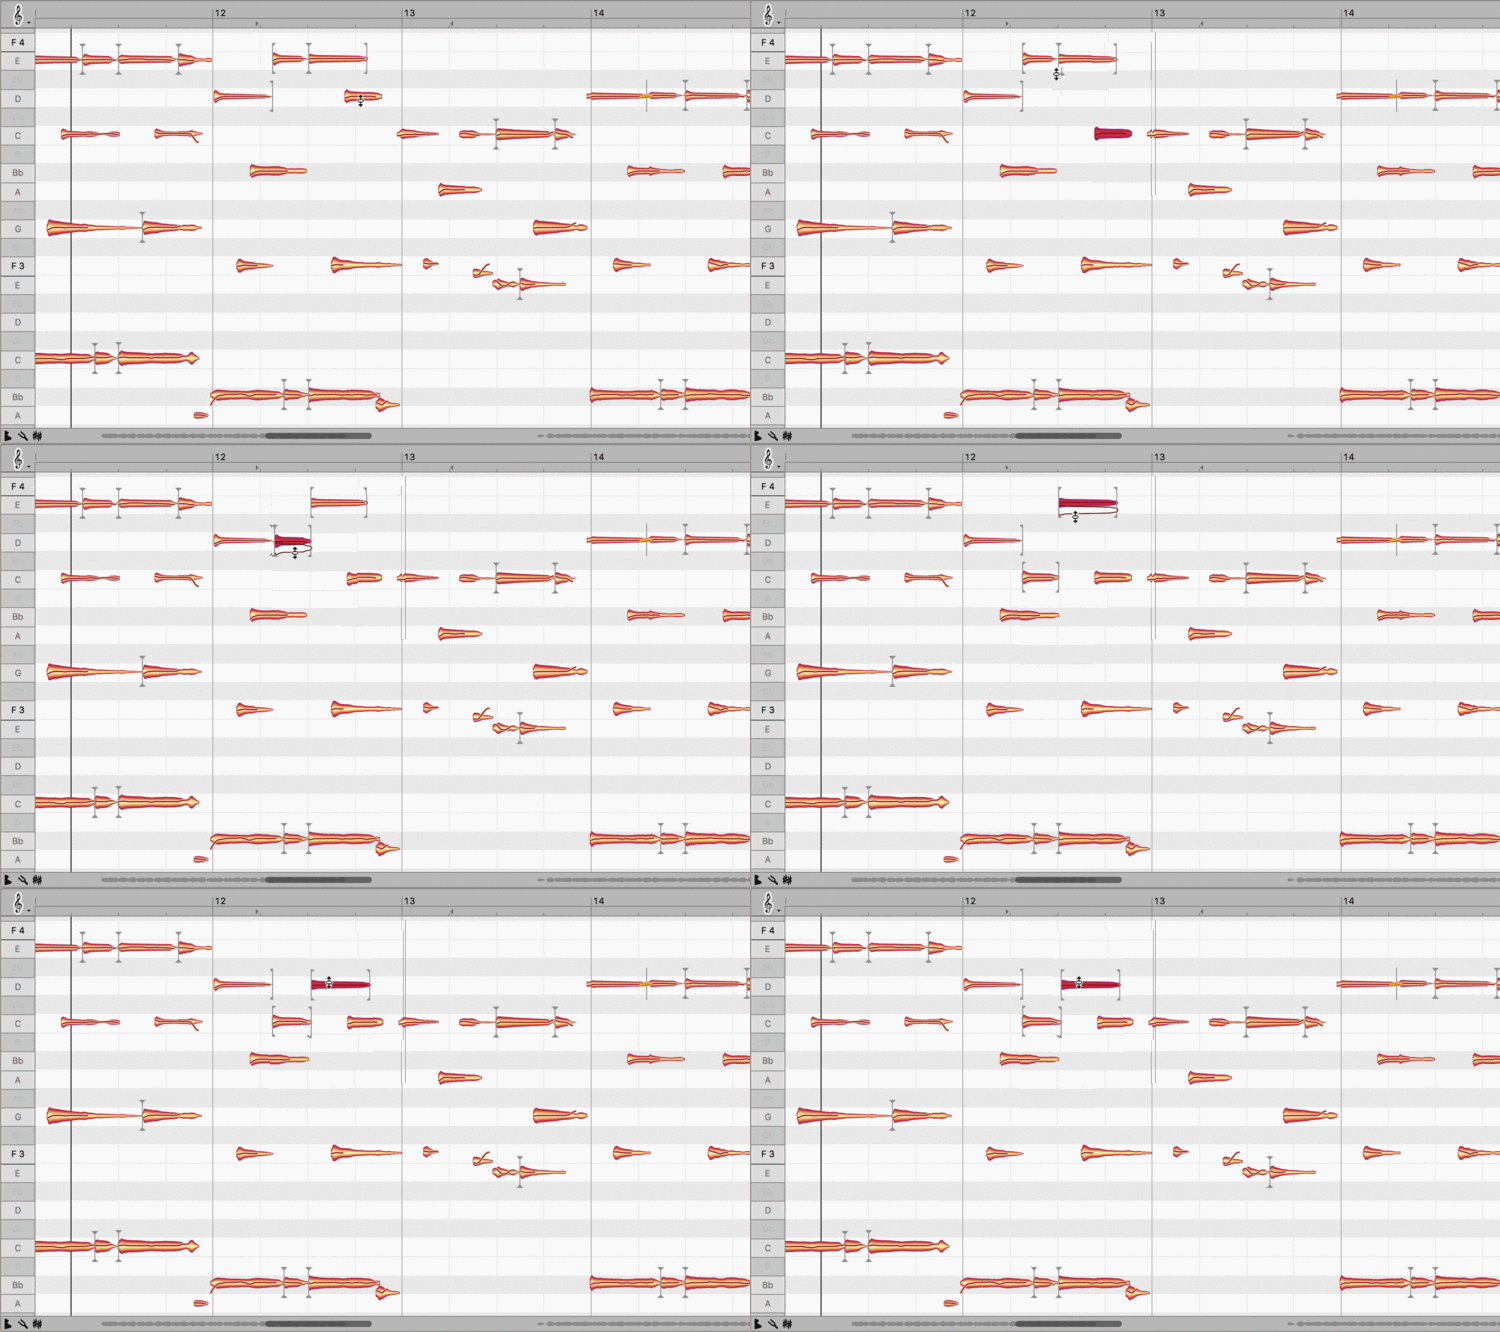
In the course of its detection of the audio material, Melodyne investigates where notes begin and end, how they are connected and how they combine to form chords. The result is the “blob-based” representation of your music which lets you edit the notes.

It’s much the same with the tempo, the upshot being in its case the Time Grid (in the background beneath the blobs) and the Bar Ruler (above them, indicating the tempo and any changes in time signature) that serve as a reference as you edit the timing of your music.

Since music is at times complex, however, and admits of various interpretations, it can happen for example that Melodyne upon completion of its analysis displays too many or too few notes, or a tempo that is half what you would normally consider it to be. To begin editing right away would be to proceed on false assumptions – like a pilot relying on a faulty altimeter or a technical draughtsman using a falsely calibrated ruler – and the results of the editing would be less than ideal.
To correct such misapprehensions, which are inevitable at times, Melodyne provides, for both the notes and the tempo, an assign mode. With these, you are not editing the music itself – that’s what their respective edit modes are for – but Melodyne’s interpretation of the music and how it displays it.
- In Note Assignment Mode, you ensure that the blobs displayed represent the recorded music as accurately as possible. This makes any subsequent editing easier, more intuitive and more productive in terms of audio quality.
To switch to Note Assignment Mode, click here:

- In Assign Tempo Mode, you ensure that the Bar Ruler (and, with it, the metronome) fits the music exactly and that tempo and time signature changes are correctly displayed. This makes the targeted and accurate movement, quantization and insertion of notes possible later on.
To switch to Assign Tempo Mode, click here:

Before you begin actually editing your music, you should therefore take a quick look at the blobs in Note Assignment Mode. Does everything look right? Are there places where notes sound but the corresponding blobs are absent? Do you see any blobs to which no note corresponds? Similarly with the tempo: Does the Bar Ruler look right? Does the metronome mark the same tempo you would by tapping your toe?
If you discover any discrepancies, you should eliminate them in the appropriate assign mode before you begin making changes to the actual musical content of the recording. If you discover later that you have overlooked something, you can always switch back to the relevant assign mode. Existing edits are preserved as you switch to and fro between assign and edit modes.